materials needed:
Step 1: Preparing workspace & kīhei.
- kāpala (lau or ʻohe)
- sewn kīhei (see preparing kīhei for instructions)
- newspapers or old rags to place under kīhei when printing
- acrylic paint (if printing with ʻohe, sponge brush)
- masking/painter's tape
- iron & ironing board
Step 1: Preparing workspace & kīhei.
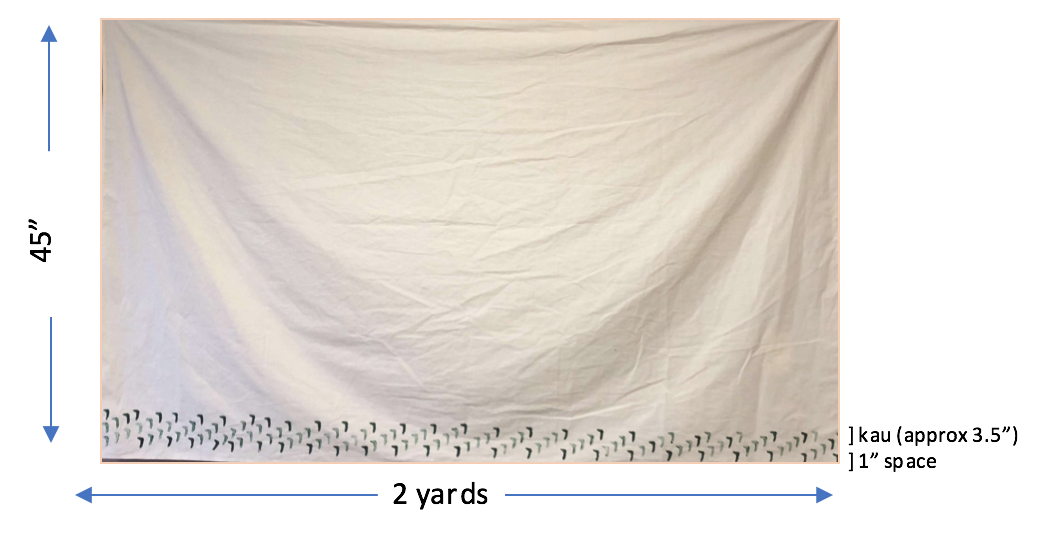
- Cover flat surface with newspapers or old rags. Ideally, surface should be longer than your 2-3 yard kīhei.
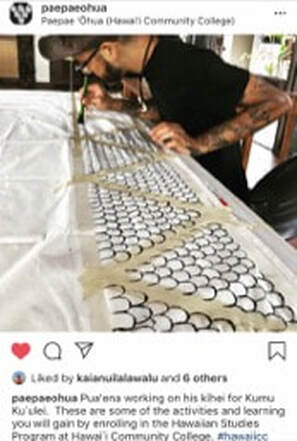
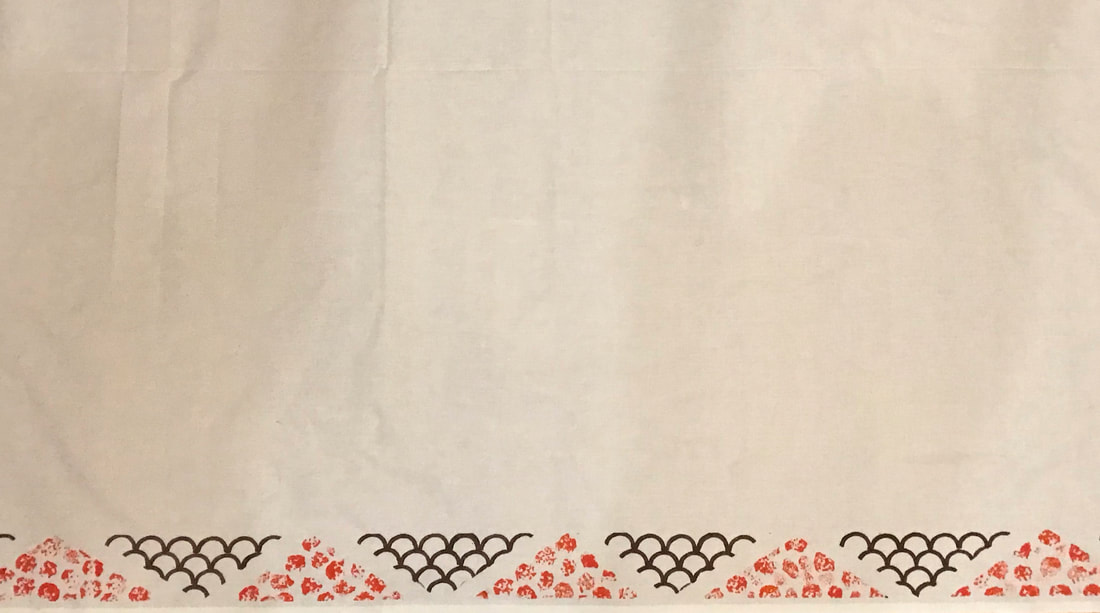
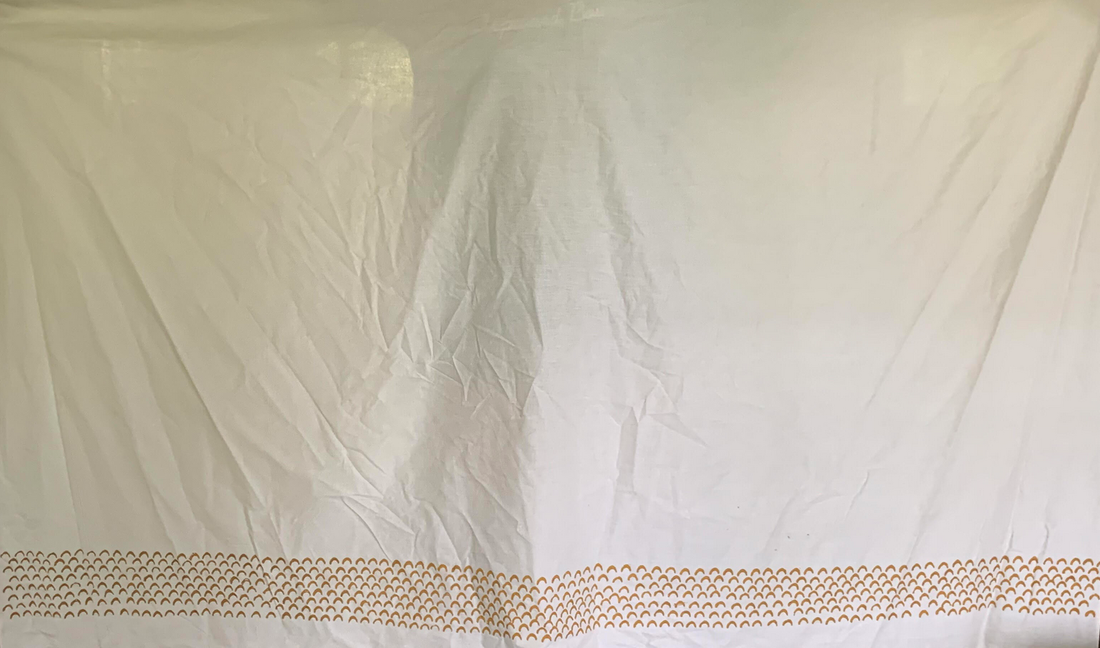
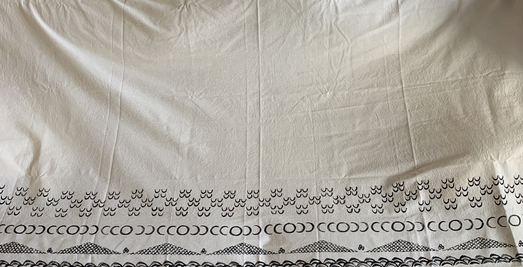
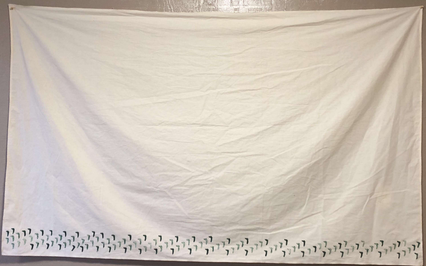
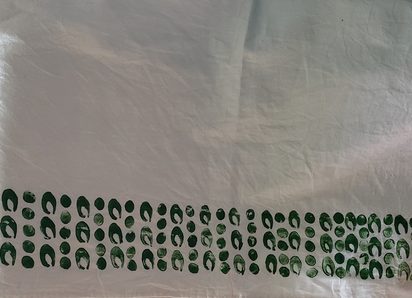
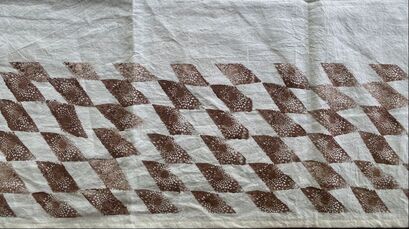
- Using masking/painter's tape, lay out 3.5” band. The bottom tape should be placed 1” above hem/previous band; the top tape should be placed 3.5” above bottom tape. You may create various designs within this band, but 75% of band should be printed.
- If you have taken many HLS courses, your kīhei may be full. Please see kumu for instructions on creating a hāhālua design.
Step 2: Print kīhei.
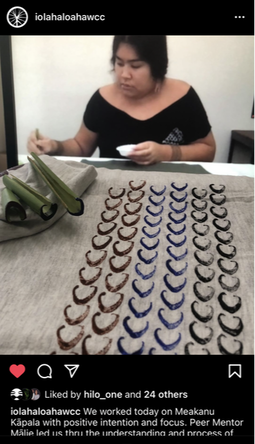
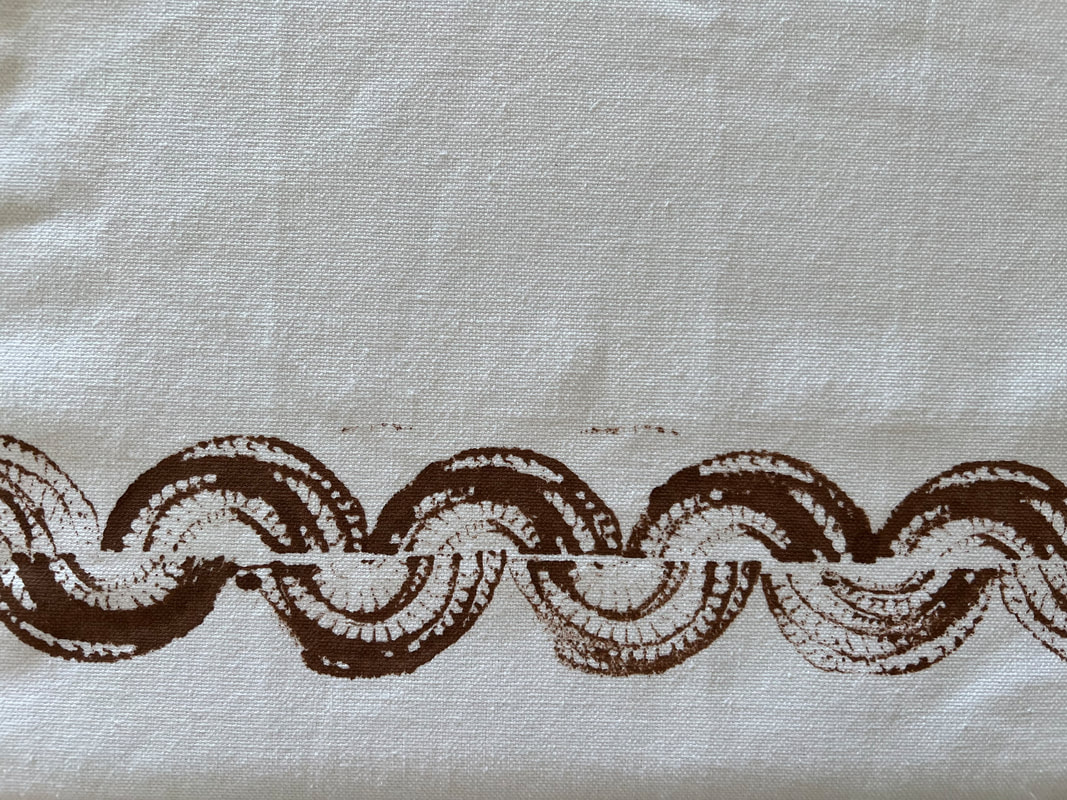
- Dip kāpala into paint (or use sponge brush to apply paint) and stamp within band.
- When band is complete and paint is dry, iron high heat to set the paint (you can also heat set acrylic paint by running hot dryer cycle for an hour).
